

Tender and Delicious Brown Sugar Smoke Ribs
These are the ribs that started it all.
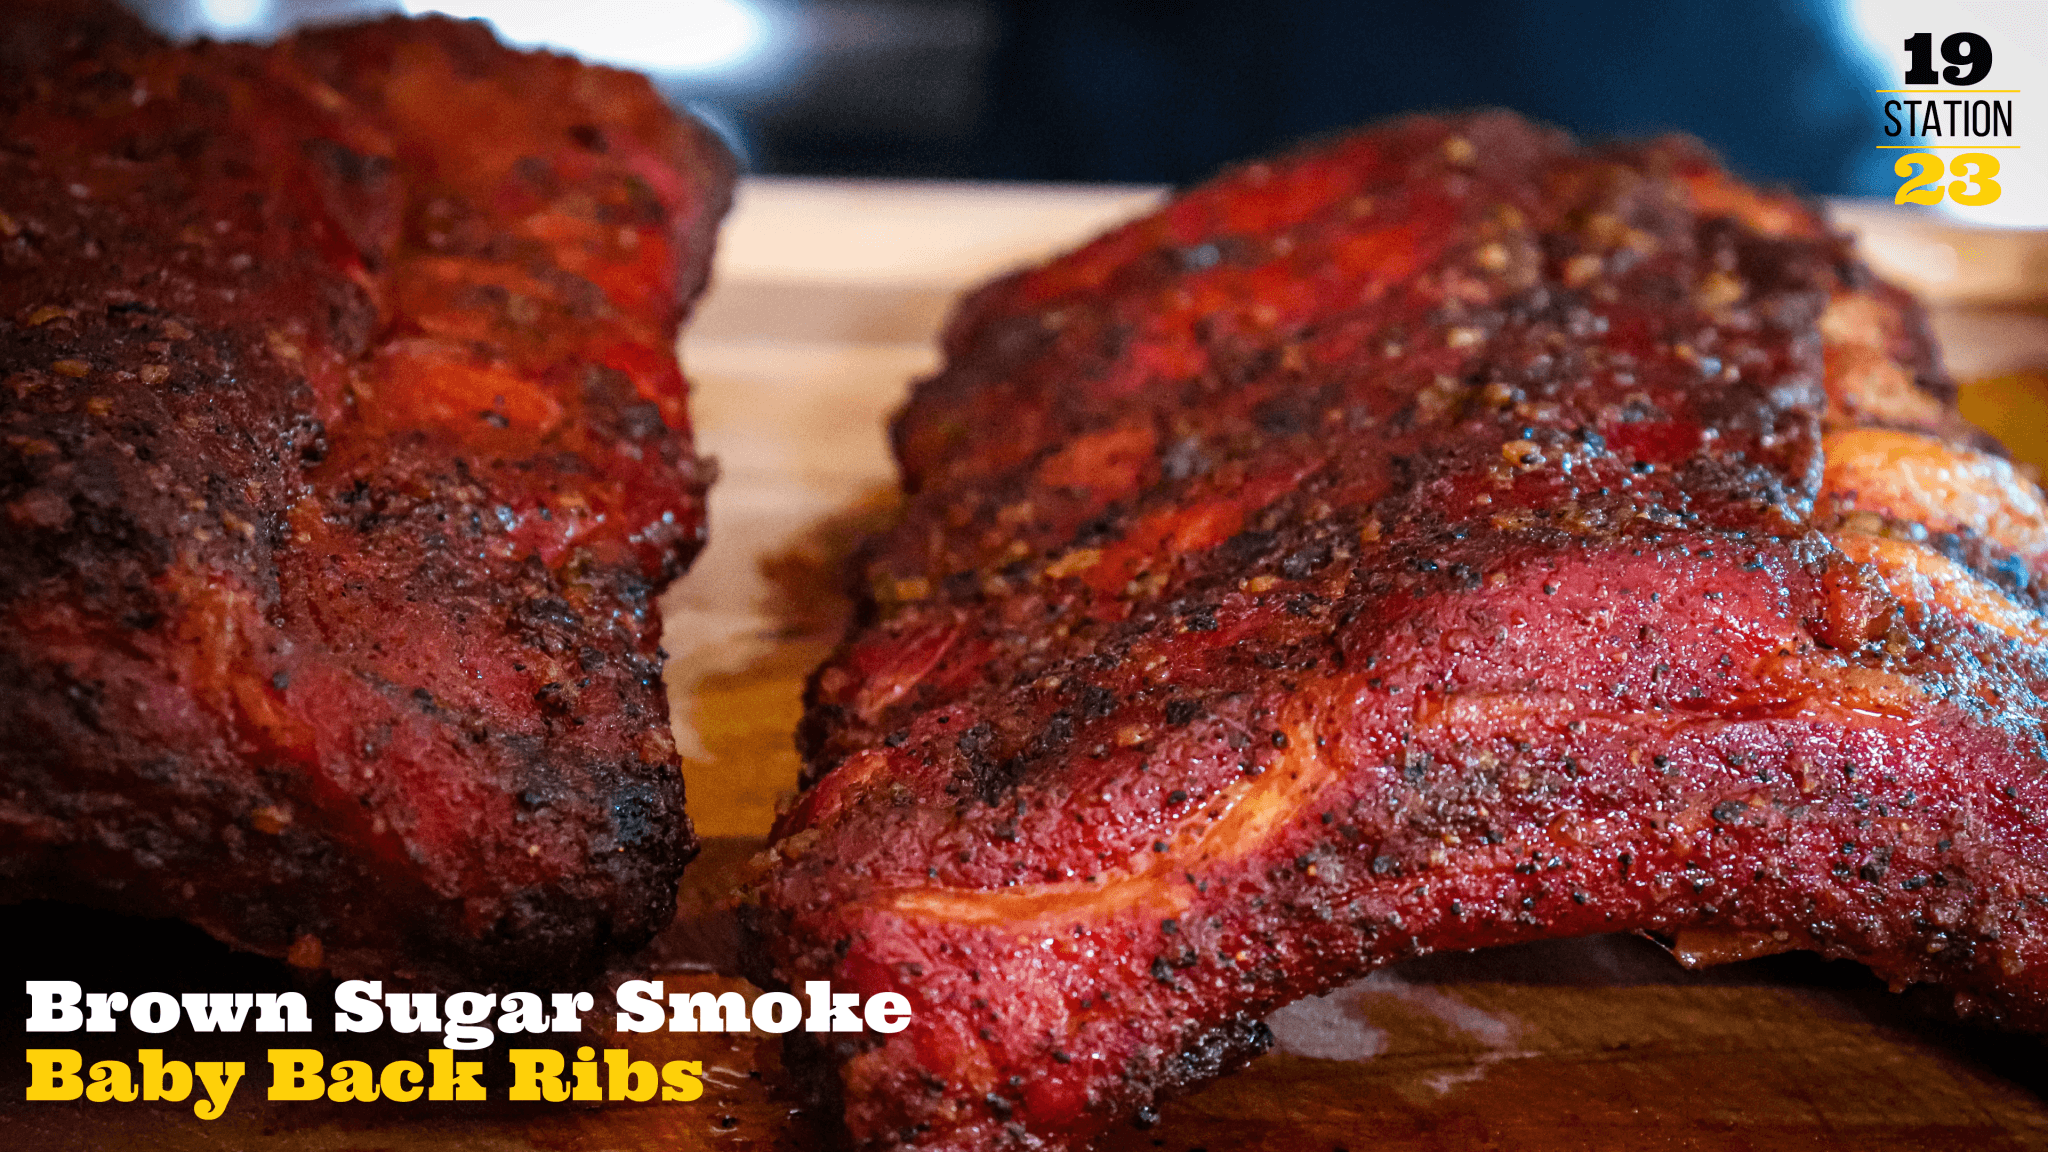
If it weren't for these tender, sweet, smoky, and savory, baby back ribs, Station 1923 might not be here today. I created Brown Sugar Smoke with the goal of achieving finger-licking ribs that would leave people asking, "ay, what sauce you put on that?"
And as you'll soon find out, the answer is, "what sauce?"
It's all in the process! To make my signature Brown Sugar Smoke ribs, you'll need a few things from the kitchen:
- baby back ribs
- mustard
- Station 1923 Brown Sugar Smoke All-Purpose Rub
- honey
- your whiskey or bourbon of choice
- paper towels
- aluminum foil
- cutting board or parchment paper
- storage bags or plastic wrap
- sauce brush
- tongs
- gloves (optional)
My preferred method of cooking is the smoker (I use a pit boss vertical), but this recipe also works for the grill. Just omit the alcohol to avoid setting your grill going up in flames. If you'll be smoking, whichever wood chips or pellets you have on-hand are fine. I've done these ribs with Pit Boss' competition blend, hickory, pecan, mesquite, cherrywood, and others — and you really can't go wrong.
If you like visuals, there's a video below that details each step. Press play, catch the vibe, and read through the rest of this post for more tips and information!
Now let's get cooking!
Step 1: Clean Ribs
Rinse, wipe, trim — whatever "cleaning meat" means to you. Just make sure that when you lay them out on your cutting board, tray, or parchment paper, that you dab away the excess water with paper towels.
For these ribs, I prefer to leave the membrane on. Keeping the membrane attached makes the ribs more tender, and comes in pretty handy during the cooking process. You'll see what I mean soon.
Step 2: Add Mustard
Squeeze a generous amount of mustard onto the ribs and use a brush or your hands to distribute it evenly on both sides. Mustard helps tenderize the meat while allowing your rub to stick.
Step 3: Add Rub
Add a generous amount of Brown Sugar Smoke to each side of the ribs. Don't be afraid to pack, rub, and massage it in. Make sure those ribs are covered!
Step 4: Marinate
Return your ribs to the refrigerator, either inside a storage bag or cutting board/tray covered with plastic wrap. You'll want to leave them in for at least 2 hours, but can let them sit overnight if you'd like. My preference is overnight, but sometimes I just have to work with the time I've got.
Step 4a: Heat Your Smoker/Grill
One hour prior to smoking or grilling, remove the ribs from the refrigerator and heat your smoker to 225 F. If using a grill, low and slow is the name of the game. The best way to do this is with indirect heat — meaning you'll fire up one side of the grill only.
Step 5: Cook Time Part 1
Step 6: Foil Time

When the juices from the ribs, the rub, honey, and whiskey come together... trust me. It's an aroma you won't ever forget.
Step 7: Cook Time Part 2
Step 8: Unwrap and Baste
At the 2 hour mark (or 190 F, whichever comes first), remove your wrapped ribs. Be careful! There's going to be a lot of juice in that foil. Allow them to rest for about 15 minutes before opening.
Optional:
After unwrapping, I use a little more honey (and/or the juice) to coat both sides of the ribs, and return them to the smoker one final time (for 20-30 minutes or up to an hour) without foil. This final stage is what gives my ribs the "sauced" look, without actually being sauced.


3 comments
Of course you can do them in the oven, using the 3-2-1 method, but obviously you won’t get that wonderful smoke flavor. They’ll still be very good, and you’ll have no complainers!
This recipe seems like it will be really delicious. Can it be made in the oven?
I would like to know if this recipe can be cooked in the oven. Thanks