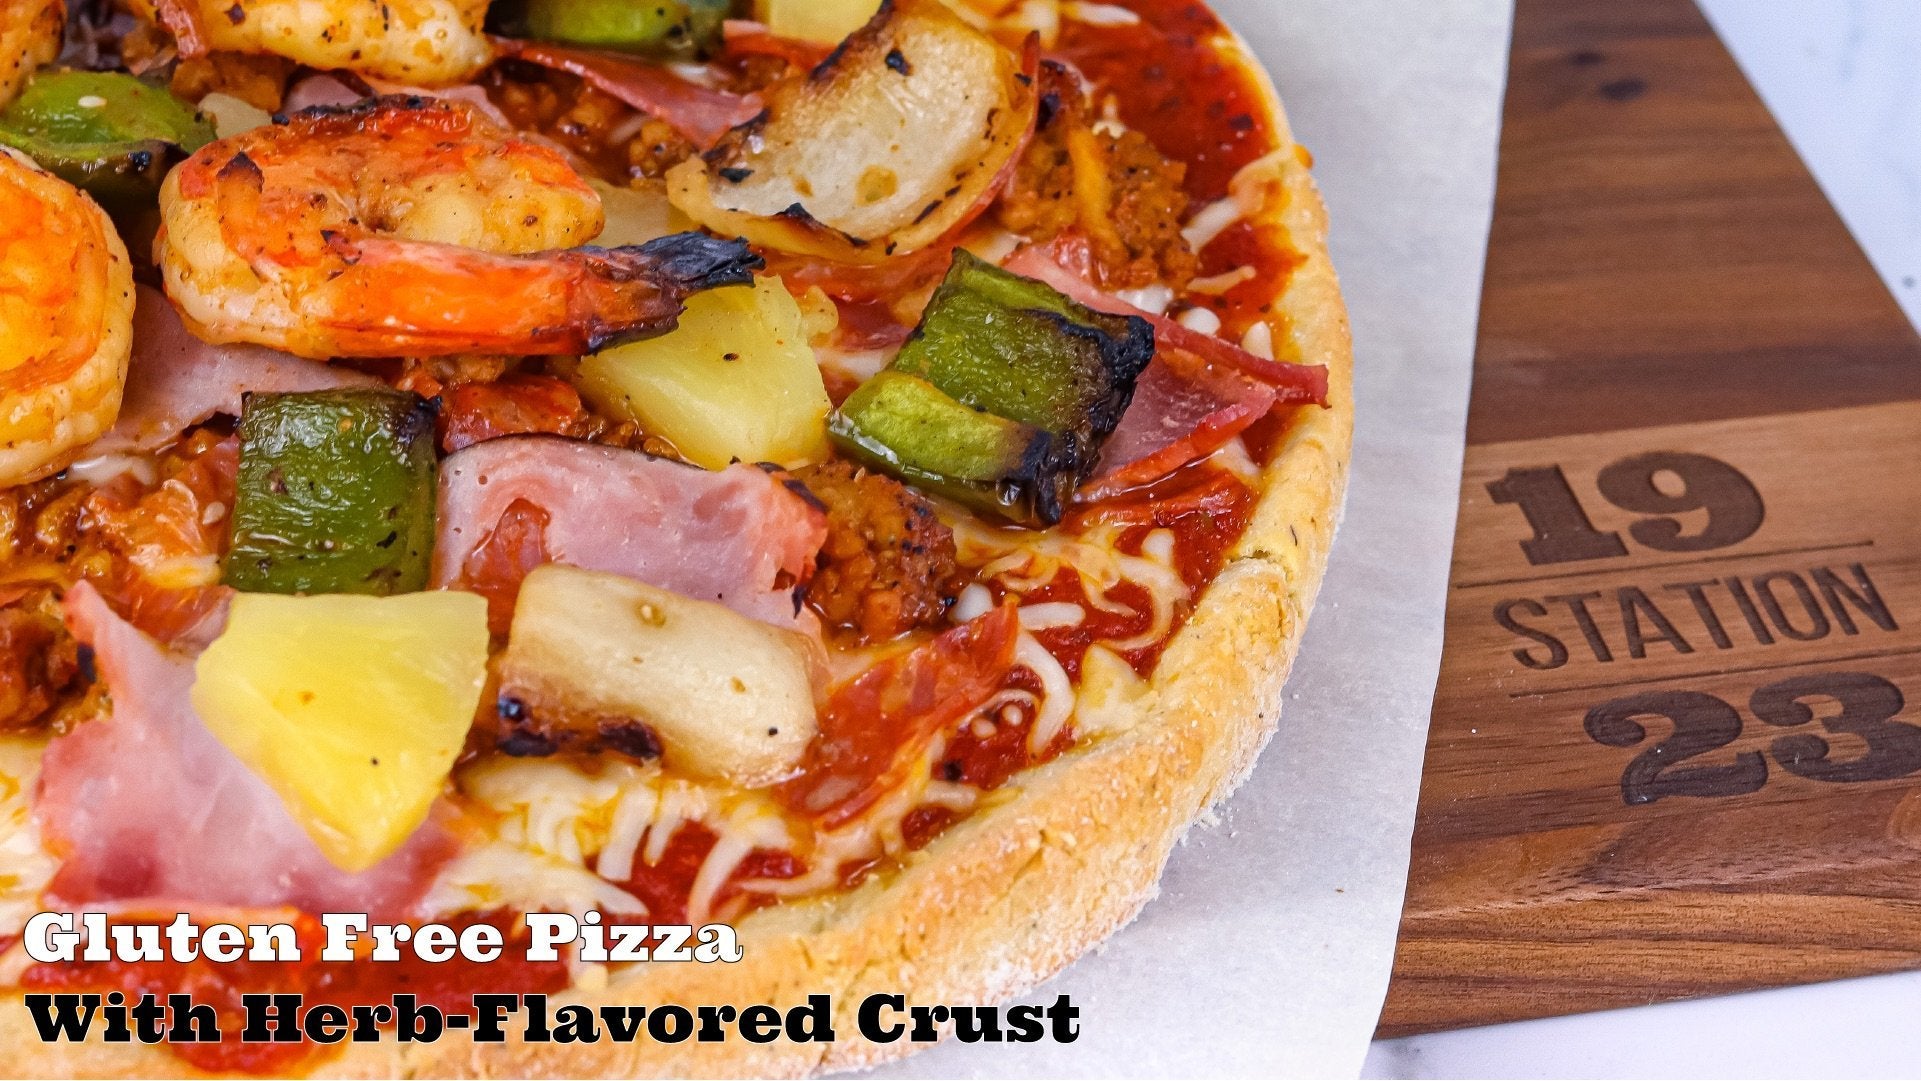
Gluten Free Pizza with Herb-Flavored Crust

Finally, a gluten-free pizza crust that doesn’t taste like cardboard and isn’t filled with cheese!
This pizza is easy to make and jam-packed with flavor from bottom to top. And best of all, nobody’s going to charge you for extra toppings! Grab your Station 1923 Citrus Herb All-Purpose Seasoning, and let’s turn your kitchen into the best gluten-free pizzeria!
Note: this recipe yields two medium-sized pizzas. Cut the measurements in half fo make just one pizza.
Crust Ingredients
- 2 cups gluten-free flour blend
- 2 cups almond flour
- 2 eggs
- 2 teaspoons baking powder
- 2 teaspoons Station 1923 Citrus Herb All-Purpose Seasoning
- 1 teaspoon sugar
- 1.5 tablespoons rapid rise yeast
- 1/4 cup melted butter (we used Balade light butter)
- 1/2 cup warm water

Additional Ingredients
- Marinara or pizza sauce
- Shredded mozzarella cheese
- Toppings of choice
Things You’ll Need
- Measuring utensils
- Mixing bowls
- Rolling pin
- Silicone spatula
- Parchment paper
- Whisk
- Pizza baking stone or pan
Ready? Let’s go!
Step 1: Prep and Proof
Most gluten-free pizza doughs skip the yeast, but we’re adding it in. It won’t make the dough rise, but it adds amazing flavor! So grab a small mixing bowl, and add your warm water and sugar. Stir until the sugar dissolves, then add yeast. Set aside and allow the yeast to proof (get bubbly) for 5-10 minutes.
While the yeast proofs, preheat your oven to 425F.

Step 2: Dough Time
While the yeast proofs, it’s time to get the rest of the dough ready. Combine all of your dry ingredients — flours, baking powder, and Citrus Herb. Mix dry ingredients with a whisk. Next, whisk together melted butter and egg in another bowl, then transfer to the dry mix.
Then, add proofed yeast. Mix with a silicone spatula until your dough fully forms. If it’s too wet, add more gluten-free flour. If it’s too dry, add a few spoons of water until a cohesive, non-sticky dough forms. Turn the dough into a ball.
Step 3: Shape Crust
Split the dough in half (if only making one pizza, skip this step). Sprinkle your surface with flour (or lay out parchment paper and sprinkle with flour). Roll out your dough into a circle until it’s about 1/8 to 1/4 of an inch thick. Repeat for second crust.
Optional: use your fingers to mold around the outside of the crust.

Step 4: Bake + Topping Prep
Pop your pizza crusts in the oven for 8-10 minutes, baking until right before they begin to brown.
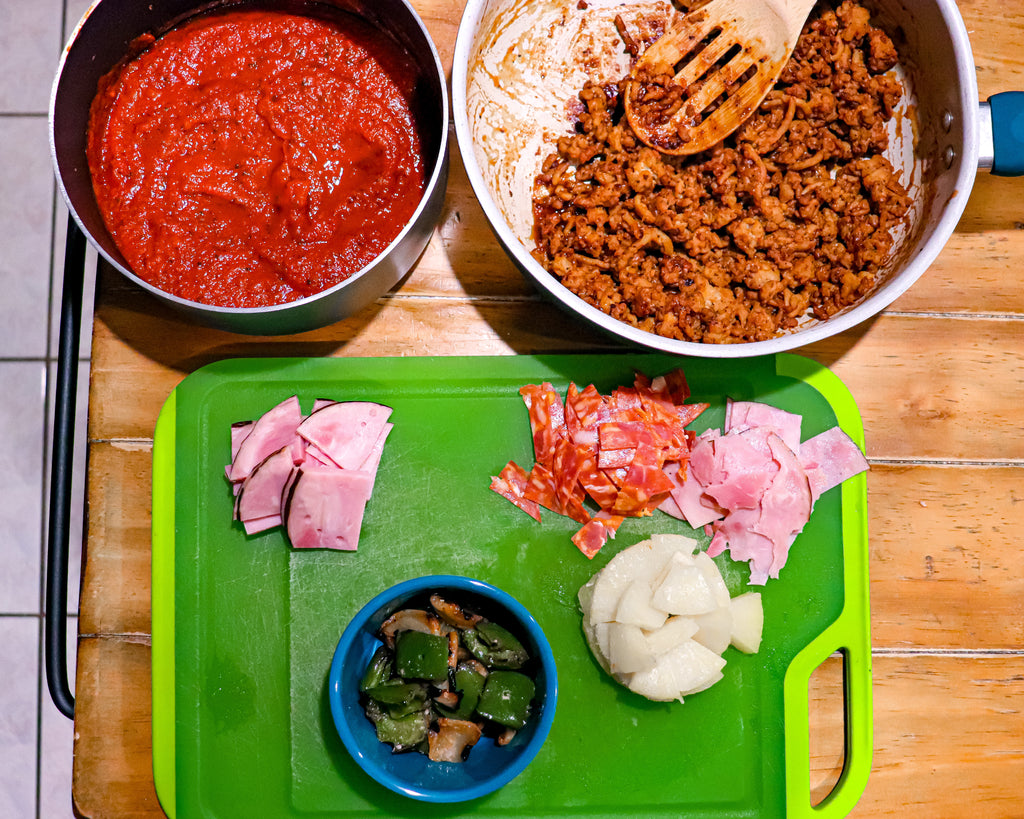
While the crusts bake, prep your toppings. We opted for a twist on BBQ and Hawaiian-style pizza — adding pineapple, ham, onion, bell pepper, and ground chicken seasoned with Brown Sugar Smoke and BBQ sauce.
We also had some leftover grilled shrimp and threw those on top. Whatever toppings you like, feel free to pile ‘em on!
Tip: If adding veggies like onion and bell pepper, roast or sauté them first.

Step 5: Layer + Bake
After 8-10 minutes have passed, remove your crusts from the oven. Cover them with pizza sauce, mozzarella, and toppings to your liking.
Return your pizzas to the oven, allowing them to cook for another 8-12 minutes — until the crust browns more, and the cheese is fully melted.

Step 6: Slice, Serve, and Enjoy!
That’s it!
Shop Citrus Herb All-Purpose Seasoning


0 comments